Android eSIM Setup Guide: Set Up UK WhatsApp Business eSIM (Non-VoIP)
Last Updated: July 2026
Learn how to install your SecondSim eSIM on any Android device and configure a separate WhatsApp Business account without carrying a second phone.
Written by Robert Brock
Founder & Telecommunications Specialist at SecondSim • Updated June 2026
For modern freelancers, tradespeople, developers, and small business owners, using a single personal phone number for work communications is a recipe for burnout. It looks unprofessional, compromises your privacy, and prevents you from switching off on weekends. Historically, the solution was carrying a clunky second phone—a "work brick."
Thanks to eSIM (embedded SIM) technology, that is no longer necessary. With a SecondSim eSIM, you can run a second, fully independent UK carrier line directly on your existing Android smartphone. Unlike virtual number apps or VoIP (Voice over IP) services that are frequently flagged and banned by messaging networks, SecondSim provides a genuine carrier-grade Tier-1 mobile number.
This comprehensive guide walks you through verifying your Android device's compatibility, installing your SecondSim eSIM, configuring brand-specific dual SIM settings, and setting up a dedicated WhatsApp Business account.
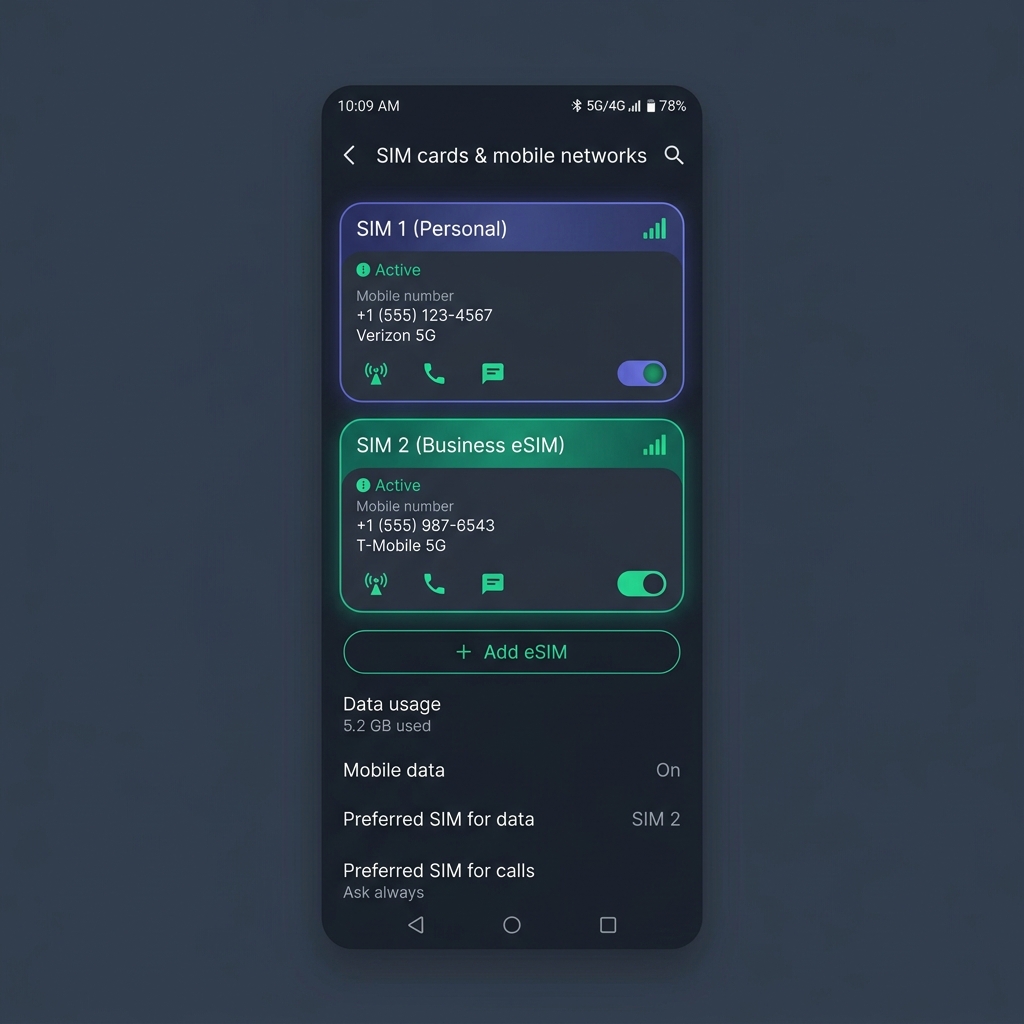
Figure 1: Modern Android devices can host a physical SIM and an active eSIM concurrently.
Phase 1: Verification & Preparation
Before beginning the installation, ensure your Android device meets the technical requirements for eSIM usage:
- eSIM Compatibility: Most modern Android smartphones support eSIM. This includes the Samsung Galaxy S20/Note 20 series or newer, Google Pixel 3 or newer, and flagship models from OnePlus, Xiaomi, and Motorola.
- Carrier Lock Status: Your phone must be fully unlocked from your primary carrier. If your phone is locked (for example, on a contract with EE, O2, or Vodafone that has not yet ended), your device will block secondary profiles. Contact your carrier to request an unlock before proceeding.
- Active Internet Connection: You must be connected to a reliable Wi-Fi network. eSIM profiles are downloaded from secure cloud servers and cannot be installed over cellular data while switching lines.
Phase 2: eSIM Profile Installation
Android menu systems vary by manufacturer. Below are the precise steps for the major Android skins:
Samsung Galaxy Devices (One UI)
- Navigate to Settings and select Connections.
- Tap SIM Manager (or SIM Card Manager).
- Tap Add eSIM.
- Select Scan QR code from service provider.
- Scan the unique QR code provided in your SecondSim welcome email. If you are viewing the email on the same phone, select the manual entry option or copy-paste the activation credentials (SM-DP+ Address and Activation Code) from the dashboard.
- When prompted to add the cellular plan, tap Add or Confirm.
- Once registered, rename the eSIM to "Business" or "SecondSim" to prevent confusion.
Google Pixel Devices (Stock Android)
- Open Settings and select Network & Internet.
- Tap the + (Add) button next to SIMs.
- Tap Download a SIM instead? at the bottom of the page.
- Select Next and wait for the carrier network search to finish.
- Scan your SecondSim QR code when the camera view opens.
- Tap Download to load the carrier profile onto your device.
- Toggle the new line to Active and label it "Business".
OnePlus, Xiaomi, & Motorola Devices
- Open Settings and tap Mobile Network (or Cellular).
- Tap eSIM (or SIM card settings).
- Tap Add eSIM or Add Mobile Plan.
- Select the QR code option and scan the activation QR.
- Confirm download and wait for registration.
- Name the line "Business" and toggle it active.
Phase 3: Configuring Dual SIM Defaults
To prevent accidental cellular roaming charges or calling clients from your personal line, you must configure how Android behaves with two active SIMs:
- Calls Default: Go to settings and set your system preference to "Ask Always" or lock calls to your "Personal" SIM. In the dialer, you will see two calling buttons (SIM 1 and SIM 2) letting you choose dynamically.
- Mobile Data Default: Set mobile data exclusively to your primary personal SIM. You do not need to route business data through the eSIM, as SecondSim runs over your existing internet connection. Disabling "Mobile data switching" ensures you never incur roaming fees.
- SMS Default: Set to your primary line for outgoing messages, but note that both lines will receive incoming SMS messages passively.
The "Dual Messenger" Warning
Many Samsung users attempt to use the built-in "Dual Messenger" utility (located under Settings > Advanced Features) to clone their WhatsApp app. **We strongly recommend against this.**
Cloned versions of WhatsApp Messenger on Android often suffer from database corruption, fail to backup automatically to Google Drive, and cannot access the robust business features (auto-replies, business profiles, catalogs) available in the official, native WhatsApp Business application. Instead, download the official business application separately.
Phase 4: Installing & Verifying WhatsApp Business
Now that your eSIM is active, follow these steps to verify your new business account:
- Open the Google Play Store and download the official WhatsApp Business app. (It is completely free and features a 'B' icon).
- Launch the app and tap Agree and Continue.
-
CRITICAL STEP: The app will automatically scan your device and ask:
"Use [Personal Phone Number] for WhatsApp Business?"
DO NOT tap this button. If you do, it will transfer your personal chat logs and permanently convert your personal WhatsApp into a business account. Tap "Use a different number" instead. - Enter your +44 SecondSim phone number. You can find this number in your welcome email or the customer account dashboard.
- Tap Next. WhatsApp will dispatch a 6-digit OTP (One-Time Password) SMS to your eSIM.
- Retrieve the code from your default Messages app and input it. Since SecondSim is a real Tier-1 mobile carrier, the code arrives instantly.
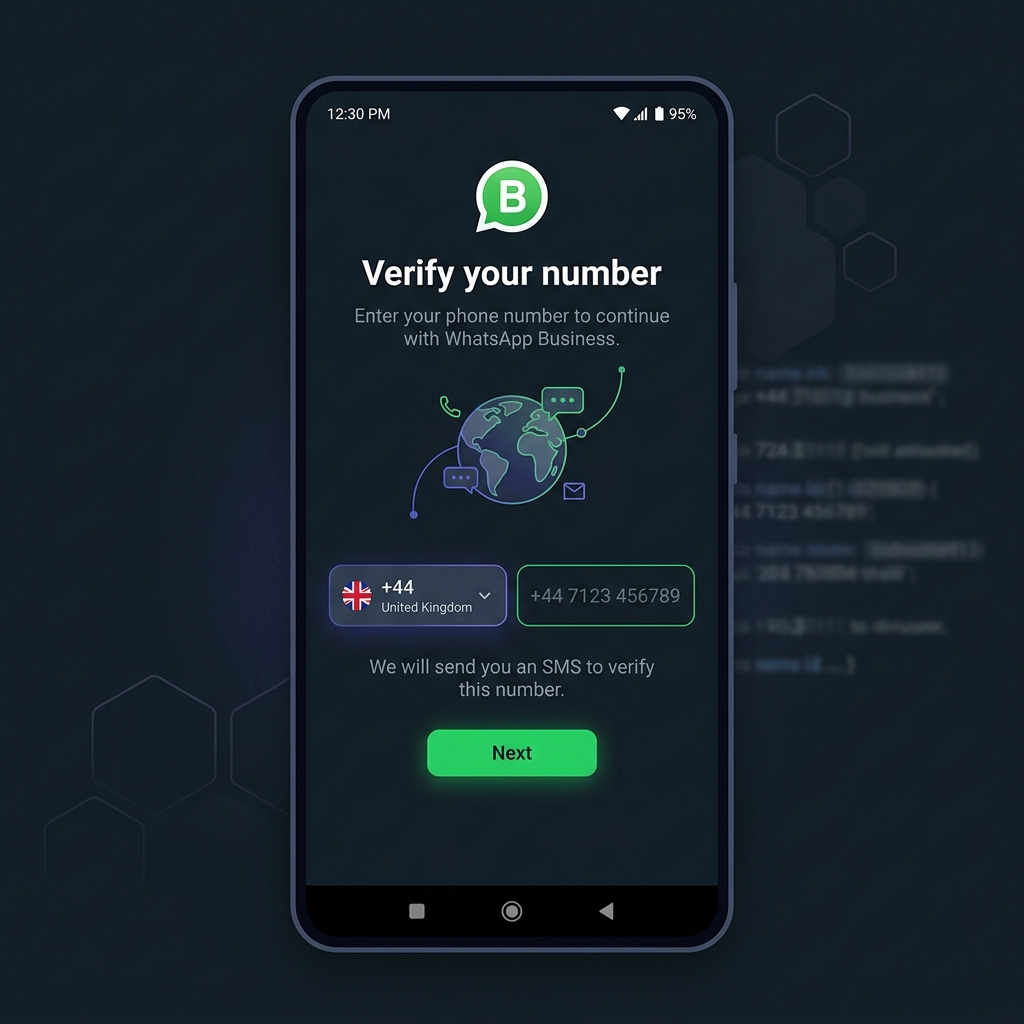
Figure 2: Verifying WhatsApp Business requires a real mobile number that can receive carrier SMS.
Troubleshooting & Common Fixes
My QR code won't scan. What should I do?
This usually happens if your phone camera cannot focus or if you are trying to scan the code under direct glare. You can install manually: tap Enter details manually on the Add eSIM screen and copy-paste the SM-DP+ Address and Activation Code provided in your welcome email.
The SMS verification code from WhatsApp is not arriving.
First, verify that your eSIM line is turned ON under Settings > Connections > SIM Manager. Second, check that you have mobile reception (look for the dual signal strength bars in your top status bar). If you are currently traveling outside the UK, ensure you have enabled Roaming on your eSIM to allow incoming SMS delivery.
Why are my personal and business contacts merging?
Unlike iPhone, Android allows you to filter contact directories. By default, both WhatsApp apps pull from the same main Google Contacts list. To separate them:
- Open your Contacts app and create a label called "Business".
- Assign all clients and work leads to this label.
- In WhatsApp Business, you can choose to only display or chat with contacts that have this specific label, ensuring friends and clients don't blend.
Will a SecondSim eSIM get my WhatsApp account banned?
No. WhatsApp actively bans virtual numbers (VoIP) because they are commonly used by spammers. Because SecondSim operates on standard Tier-1 mobile networks, our eSIMs issue real carrier numbers. They bypass WhatsApp's anti-fraud system first time, giving you long-term security.