iPhone eSIM Setup: How to Add a Secure Second Business Line
Last Updated: July 2026
A detailed guide to installing your SecondSim eSIM on iOS devices and running WhatsApp Business concurrently with your personal number.
Written by Robert Brock
Founder & Telecommunications Specialist at SecondSim • Updated June 2026
The Bottom Line for Business Teams
To set up WhatsApp Business for your team on existing iPhones, you must use a Non-VoIP eSIM like SecondSim to bypass virtual number bans and ensure reliable connectivity. App-based virtual numbers (VoIP) often fail WhatsApp security checks and suffer from dropped calls. SecondSim provides real UK carrier lines that deploy instantly to your team's phones via QR code.
Carrying two separate physical phones is one of the most common operational headaches for freelancers, real estate agents, consultants, and business owners. It is easy to forget one device, charging multiple items is a chore, and maintaining two separate monthly network agreements quickly drains profits.
Apple solved this issue with Dual SIM capabilities on modern iOS devices. By using a digital eSIM (embedded SIM) alongside your physical SIM (or using dual active eSIMs), you can route two active phone numbers through a single iPhone.
Unlike cheap "burner" apps or VoIP lines that fail security checks on major platforms, SecondSim operates on standard Tier-1 infrastructure. This means your eSIM acts as a real carrier-grade UK mobile number, capable of receiving instant SMS verification codes and establishing reliable business credentials.
This manual provides complete step-by-step setup instructions for all compatible iPhone models, crucial iOS dual line configurations, and the proper procedure for establishing a clean, separated WhatsApp Business profile.
Phase 1: Verification & Preparation
Before attempting configuration, ensure your hardware and software are ready:
- Device Compatibility: iPhone XR, XS, XS Max, and all subsequent lines (iPhone 11, 12, 13, 14, 15, and 16 series) support eSIM.
- Dual eSIM Standby: iPhone 13 and later support two active eSIMs simultaneously. Older models (iPhone XR through iPhone 12) require a physical SIM for your main line if you wish to run a SecondSim eSIM concurrently. Note that US-purchased models of iPhone 14, 15, and 16 have no physical SIM slot and are eSIM-only.
- Network Lock Check: Navigate to Settings > General > About. Scroll down to Carrier Lock. It must state "No SIM restrictions". If it displays a locked message, your iPhone is bound to a single network, and you must request an unlock from your carrier.
- Software: Ensure your iPhone is updated to at least iOS 15, though iOS 17 or 18 is recommended for the best dual SIM dialer integrations.
Phase 2: eSIM Installation
Adding a cellular plan on iOS is simple. Follow these steps:
- Open the Settings app and tap Cellular (or Mobile Service depending on your region).
- Tap Add eSIM or Set Up Mobile Service.
- Tap Use QR Code.
- Scan the QR code included in your SecondSim welcome email. If the QR code is on the same device, select Enter Details Manually at the bottom of the scanner screen, and paste the SM-DP+ Address and Activation Code.
- Follow the prompts on the screen to download the profile. Once registered, tap Done.

Figure 1: Labeling your cellular lines clearly in iOS makes calling and messaging intuitive.
Phase 3: Setting Up iOS Dual Line Defaults
After installation, iOS will guide you through mapping the active lines. Set the defaults as follows:
- Plan Labels: Label your existing line as "Personal" and your new SecondSim plan as "Business" or "UK Line". This adds visual badges next to caller IDs and contact cards.
- Default Voice Line: Set this to your Personal plan. This ensures that any calls you initiate to new contacts default to your personal line unless you specify otherwise.
- iMessage & FaceTime: Select which plan you want to associate with your Apple ID. We recommend keeping this locked to your Personal number to avoid splitting your iMessage threads.
-
CRITICAL DATA CONFIGURATION: Set Cellular Data to your Personal SIM.
Turn OFF "Allow Cellular Data Switching."
If this toggle is left on, your iPhone will switch data routing to the eSIM when signal is poor, which can lead to unexpected roaming charges.
Phase 4: Setting Up WhatsApp Business
Because WhatsApp Business and standard WhatsApp Messenger are separate apps, they can run simultaneously on the same iOS device.
- Open the App Store and download the official WhatsApp Business app.
-
Open the app. It will detect your personal number and prompt:
"Use [Personal Number] for WhatsApp Business?" -
WARNING: DO NOT TAP "USE."
If you tap this, WhatsApp will convert your personal account. Tap "Use a different number" at the bottom of the screen. - Enter your SecondSim eSIM number. Make sure the country code is set to +44 (United Kingdom).
- Tap Done. A 6-digit verification code will be sent via SMS to your SecondSim line.
- Open the iOS Messages app, copy the OTP code, and enter it in WhatsApp Business.
- Configure your business profile (Business name, category, and hours). Your second line is now active!
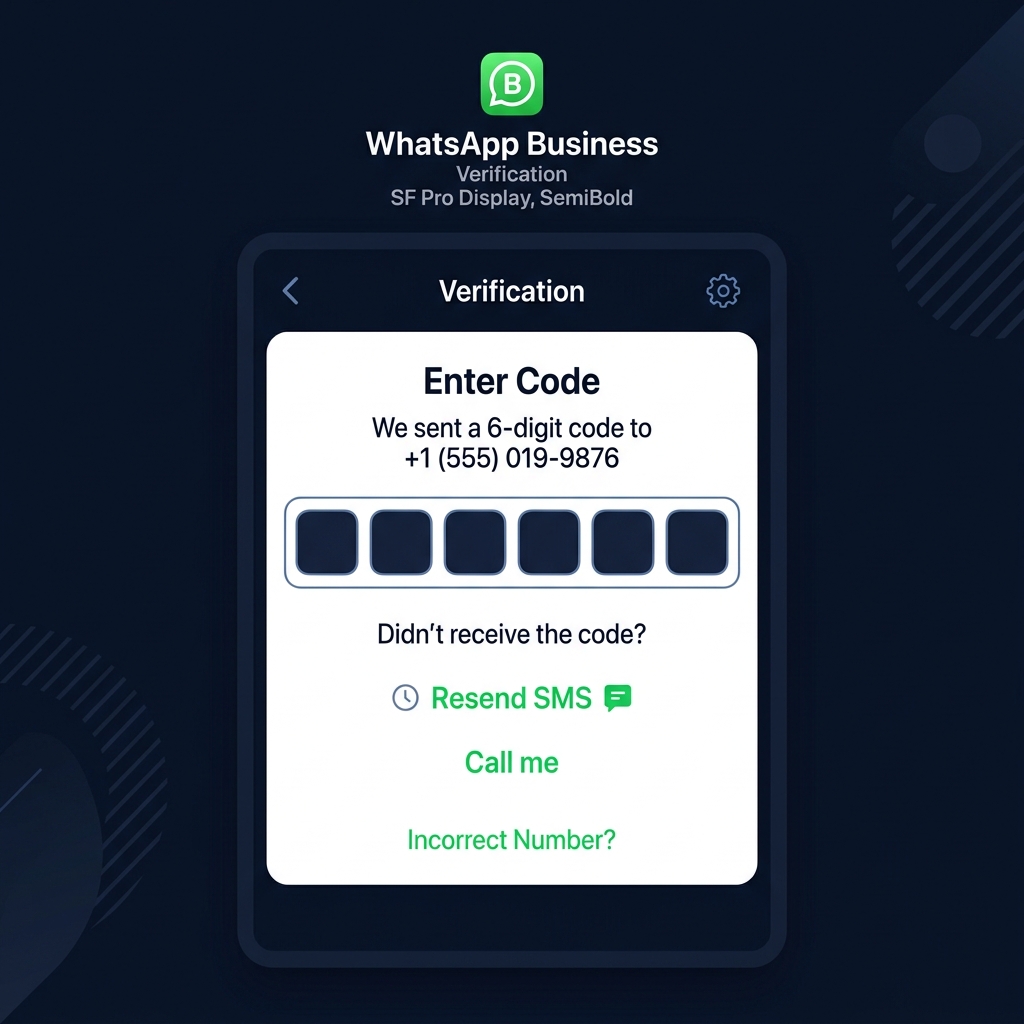
Figure 2: Verify WhatsApp Business using the SMS OTP sent to your SecondSim line.
The iOS "Shared Contacts" Quirk
A critical design detail on iOS is that **both WhatsApp apps pull from the exact same Apple Contacts app.** You cannot restrict WhatsApp Business to only access a "work" sub-list.
Because of this, family and friends in your contact list will show up as chat options inside WhatsApp Business. To maintain clean directories:
- Prefix Work Contacts: When saving business clients in your iOS contacts, prefix their name (e.g., "Biz - John Smith" or "Lead - Sarah Davies").
- Use Gmail/Outlook Folders: Set up a secondary contacts group in settings (e.g. via a business Gmail account) and only save clients there. You can toggle that group visible or invisible in the main iOS contacts app.
Troubleshooting & iOS FAQs
My iPhone displays "eSIM Cannot Be Added" or "Activation Failed".
This is almost always due to carrier lock. Go to Settings > General > About > Carrier Lock. If it does not say "No SIM restrictions", your iPhone is locked to your main network provider. You must call them to unlock the device. Additionally, ensure you are connected to a high-speed Wi-Fi network and your iOS software is fully updated.
My verification SMS code isn't arriving.
Verify that your eSIM is enabled. Go to Settings > Cellular, tap your eSIM, and confirm "Turn On This Line" is toggled active. Also, verify that your signal strength indicator in the status bar has two sets of bars (representing both active plans). If you are currently abroad, Roaming must be toggled on.
Will having two active lines drain my iPhone battery?
Dual SIM Standby does consume slightly more battery because the iPhone maintains connection to two mobile masts simultaneously. However, this is highly optimized in modern iOS versions and is significantly more power-efficient than carrying and running a second phone.
How can I temporarily disable my business line during holidays?
One of the best benefits of an eSIM is work-life boundaries. You can easily turn off the business line without deleting it. Go to Settings > Cellular, tap your Business plan, and toggle "Turn On This Line" to OFF. Calls will go straight to your business voicemail, and messages will wait until you turn it back on.